Manual.ly Logo

Chicco Baby Hug 4 in 1 Kilavuz

0,0 · 0 Puanlar

PDF kılavuzu · 112 Sayfa

Türkçe

M: GO-GEM-FL-25
sayfa

/ 112

Loading...
c2b283e0701ef547d8f033ee65ada21c6ffd page 10
16
17
CLEANING
Clean the plastic parts with a soft damp cloth. Never use
abrasive detergents or solvents. If the highchair comes
into contact with water, dry the metal parts to prevent
the formation of rust.
MAINTENANCE
• This product requires periodical maintenance.
• Cleaning and maintenance operations must only be
carried out by an adult.
• Periodically check the product for broken, damaged or
missing parts: do not use it in this case.
• To avoid friction that may compromise the correct
functioning of the product, ensure that all the moving
plastic parts located along the metal frame are free of
dust, dirt and sand.
• If necessary, lubricate the moving parts with dry sili-
cone lubricant.
• Store the product in a dry place.
COMPONENTS
The product is completely disassembled when pur-
chased; check that all of the components listed below
are present. If any part is missing contact ARTSANA’s
CUSTOMER SERVICES.
The product and all of its components must always be
assembled by an adult.
A - Height adjustable pedestal frame
A1 - 4 wheels with brakes
B - Seat frame
C - Seat structure
D - Tubular seat frame
E - Fabric (with shoulder straps)
F - Booster cushion
G - Toybar
G1 - Light / sound game buttons
G2 - 3 soft toys
I - Upper fabric zips
L - Plastic clips
M - Height adjustment pedal
N - Backrest recline lever
ASSEMBLY
The product is not assembled when purchased. To use
it, carry out the following assembly operations:
1. The rst thing to do is assemble the “A1” wheels on
height adjustable base frame “A”. To do this place the
frame on a rug or soft surface so as not to damage the
oor or frame. Assemble the 4 “A1” wheels inserting
the pins in the 4 holes under height adjustable base
frame “A” as shown in gure 1.
WARNING: Fully insert the wheel pin into the hole in
the base. At this point the base can be rested on the
oor.
2. Insert the fasteners of seat frame “B” into the respec-
tive tubes on seat structure “C” until they click into
place (Fig. 2).
3. Assemble the seat (seat frame “B” + seat structure
“C”) on the base: insert the two tubes on base “A”
into the corresponding holes on seat frame “B” until
they click into place (Fig. 3).
WARNING: The backrest must face the height adjust-
ment pedal (I) as shown in Fig. 3a.
4. Insert tube “D” into the corresponding holes on seat
frame “B” until they click into place (Fig. 4).
5. To assemble fabric “E” line up the holes on the fabric
with the restraint system installed on seat structure
“C”. Pass the two lateral arms of seat frame “B” through
the side fabric holes (FIG. 5), insert the pins of the
arms into the holes on either side of the backrest (FIG.
5a) until they click into place.
WARNING: Check that both arms are assembled cor-
rectly.
6. Attach fabric “E” using the two perimeter zips above
seat frame “B” (Fig. 6).
7. Pass the crotch strap and waist straps on seat struc-
ture “C” through the holes of fabric “E” (Fig. 7-7a-7b-
7c).
8. Attach the fabric (E) to the bottom of seat structure
“C”, making sure to insert all of the plastic clips in the
right slots (Fig. 8-8a).
BOOSTER CUSHION
9. Reducer cushion “F” is ideal from birth and can be
used or removed as necessary. To attach it to the
seat, place it on the fabric, pass the crotch strap and
waste straps through the holes in booster cushion “F”
(reclined cradle mode), (Fig. 9). In highchair mode it
is also necessary to pass the shoulder straps through
the holes of the booster cushion (Fig. 9a).
TOYBAR
10. The toys can be attached to the toybar by passing the
straps through the plastic openings on the bar (Fig.
10) and fastening the velcro.
11. Assemble the toybar (with the light positioned to-
wards backrest recline lever “N”) inserting the pins of
the bar into the holes on seat frame “B” until it clicks
into place (Fig. 11).
12. To incline the toybar in the three possible positions
press the side buttons (Fig. 12).
13. To remove the toybar press the buttons on the inside
of the bar support and pull upwards (Fig. 13).
WARNING: Always check that the toybar is properly
fastened before using it.
WARNING: To prevent possible injury by entaglement,
remove this toy when the child starts trying to get up
on its hands and knees in a crowling position.
HEIGHT ADJUSTMENT
14. Once assembled, the product can be adjusted to
various heights in all congurations. To adjust its
height, hold down height adjustment pedal “M” (Fig.
14) and lift or lower the seat to the desired height.
ADJUSTING THE BACKREST
15. The backrest can be adjusted to four dierent posi-
tions. To do this, push down on backrest recline lever
“N” (Fig. 15).
Position 1 – Crib mode (Fig. 15a)
Position 2-3 – Reclined cradle mode (Fig. 15b)
Position 4 – Highchair and rst chair at the table mode
(Fig. 15c)
These adjustments can also be made with your child
seated in the product. In this case it will be slightly more
dicult.
WARNING: Always check that the backrest is properly
locked before use.
USING THE SAFETY HARNESS
16. With fabric “E” assembled on seat structure “B”, there
will be a crotch strap, two waist straps and two
shoulder straps (Fig. 16).
17. CRIB MODE - WARNING: Completely remove all
safety harnesses making sure to keep them out of
the reach of your child (Fig. 17).
18. RECLINED CRADLE MODE - WARNING: A 3-point
restraint system must be used: crotch strap + waist
straps (Fig. 18).
19. After placing your child in the seat, reclined cradle
mode, fasten the straps by passing the two prongs
through the crotch strap buckle; adjust the waist
straps so that they t closely around your child’s
waist (Fig. 19).
20. HIGHCHAIR AND FIRST SEAT AT THE TABLE
MODE - WARNING: A 5-point restraint system
must be used: crotch strap + waist straps + shoulder
straps (Fig. 20).
WARNING: In this conguration the toybar must al-
ways be positioned behind the backrest.
21. After placing your child in the seat in highchair
mode, fasten the straps by passing the two prongs
through the shoulder strap buckle (Fig. 21) and then
through the crotch strap buckle (Fig. 21a); Adjust the
height of the shoulder straps so that they correctly
t your child’s shoulders.
Always make sure that the straps are fastened correctly.
To unfasten the strap, press and pull the side prongs.
WARNING: When using the product, always fasten the
straps by inserting them in the crotch strap and check
that they are tight enough and properly fastened.
22. The safety harness straps can be removed (for washing
or for use in the crib/reclined cradle conguration).
To remove the harnesses pull the waist and crotch straps
out from the holes in the fabric (Fig. 22-22a-22b) until
they are hidden on the seat frame and pull the shoulder
straps out from the fabric holes on the backrest (Fig. 22c
-22d). After removing the safety harnesses, make sure
that the harnesses are correctly re-assembled.
To re-assemble the safety harnesses, carefully follow the
steps below:
23. Follow point 7 of the ASSEMBLY paragraph to re-
assemble the waist straps and crotch strap. For the
shoulder straps, pass the strap through the hole as
shown in Fig. 23, making sure that the length adjust-
er is positioned as shown in the gure.
Take the plastic hole of the shoulder straps and pass it
through the fabric ring of the harness (Fig. 23a).
Having performed this operation correctly, pull the har-

Yapay zeka ile Chicco Baby Hug 4 in 1 kılavuzunuzla sohbet edin

Chicco Baby Hug 4 in 1 kılavuzunuzdan yapay zeka ile anında yanıt alın

Chicco Baby Hug 4 in 1 hakkında istediğinizi sorun. Yanıtlar bu kılavuzdan gelir ve dayandığı sayfalar belirtilir.

Baby Hug 4 in 1 Bakim Takvimi

Her yıkamadan sonra
Kumaş ve dikişleri kontrol edin

Güvenliği sağlamak için her yıkamadan sonra kumaşın ve dikişlerin direncini kontrol edin.

Kilavuzda goster (15. sayfa)
Periyodik olarak
Hasarları inceleyin

Ürünü kırık, hasarlı veya eksik parçalar açısından düzenli olarak kontrol edin ve bulunursa kullanmayın.

Kilavuzda goster (14. sayfa)
Periyodik olarak
Hareket eden plastik parçaları temizleyin

Sürtünmeyi önlemek için metal tüpler üzerinde kayan plastik parçalardan toz, kir ve kumu temizleyin.

Kilavuzda goster (16. sayfa)
İhtiyaç halinde
Hareket eden parçaları yağlayın

Doğru işlevi sağlamak için gerekli durumlarda hareket eden parçalara kuru silikon yağlayıcı uygulayın.

Kilavuzda goster (16. sayfa)
M: QW-35-FL

Soru Sor Soru

0/1000

Baby Hug 4 in 1'i önerir misiniz?

Evet Hayır

Sıkça Sorulan Sorular

A

Doğumdan itibaren beşik ve yatırılabilen beşik modlarında 9 kg'a kadar kullanılabilir; ardından yaklaşık 6 aydan itibaren mama sandalyesi ve ilk sandalye modlarında 36 aya ve 15 kg'a kadar kullanılabilir.

Bu yanıt yardımcı oldu mu?

A

Hayır. Yatırılabilen beşik uzun süreli uyku için tasarlanmamıştır. Çocuk daha uzun süre uyumak istiyorsa bunun yerine uygun bir beşik ya da yatak kullanılmalıdır.

Bu yanıt yardımcı oldu mu?

A

Evet. Oyuncak barı gerektiğinde takılabilir veya çıkarılabilir. Mama sandalyesi modunda güvenlik için her zaman sırtlığın arkasında konumda kalmalıdır.

Bu yanıt yardımcı oldu mu?

A

Kumaş yalnızca soğuk suda elde yıkanmalıdır. Çamaşır suyu kullanmayın, kurutma makinesinde kurutmayın, ütülemeyin veya kuru temizleme yapmayın. Yıkadıktan sonra dikişleri ve kumaşın durumunu kontrol edin.

Bu yanıt yardımcı oldu mu?

A

Evet. Ürün kullanımdaysa sabit kalmasına yardımcı olmak ve hareket ya da devrilme riskini azaltmak için dört tekerleğin de kilitli olması gerekir.

Bu yanıt yardımcı oldu mu?

A

Tüm parçaların doğru şekilde monte edildiğini, kilitleme mekanizmalarının devrede olduğunu, emniyet kemerinin doğru takıldığını ve hiçbir bileşenin kırık, yırtık ya da eksik olmadığını kontrol edin.

Bu yanıt yardımcı oldu mu?

M: GO-GEM-FL-25

Avantajlar ve Dezavantajlar

Avantajlar

  • 4'ü 1 arada tasarım, doğumdan 36 aya kadar çocukla birlikte büyür.
  • Ayarlanabilir yükseklik ve yatabilen sırtlık farklı günlük rutinleri destekler.
  • Işık ve sesli çıkarılabilir oyuncak barı erken dönem eğlence sunar.
  • Yıkanabilir, çıkarılabilir kumaş ve kemer parçaları temizliği ve bakımı kolaylaştırır.
VS

Dezavantajlar

  • Mod değişiklikleri dikkatli yetişkin kurulumu ve düzenli güvenlik kontrolleri gerektirir.
  • Ürün her zaman doğru emniyet sistemiyle kullanılmalıdır.
  • Beşik ve yatırılabilen beşik modları nispeten kısa bir yaş aralığıyla sınırlıdır.
  • Oyuncak barın pilleri ve hareketli parçaları periyodik bakım ve dikkat gerektirir.
M: GO-GEM-FL-25

Ürün Özellikler

A?a?rl?k

10,20kg

Boyutlar (GxYxD)

850x880-1220x600mm

Ozellikler

yukseklik ayarli, mama sandalyesine donusturulebilir, melodi fonksiyonu

M: GO-GEM-FL-25

Ürün Açıklama

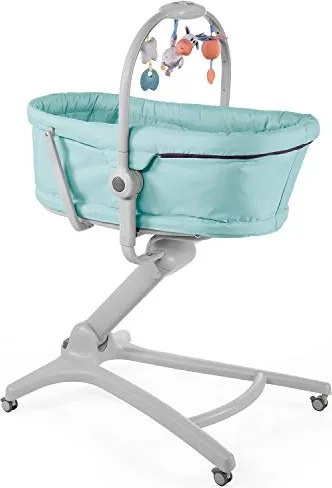
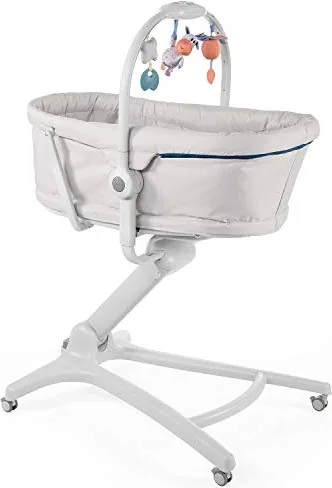
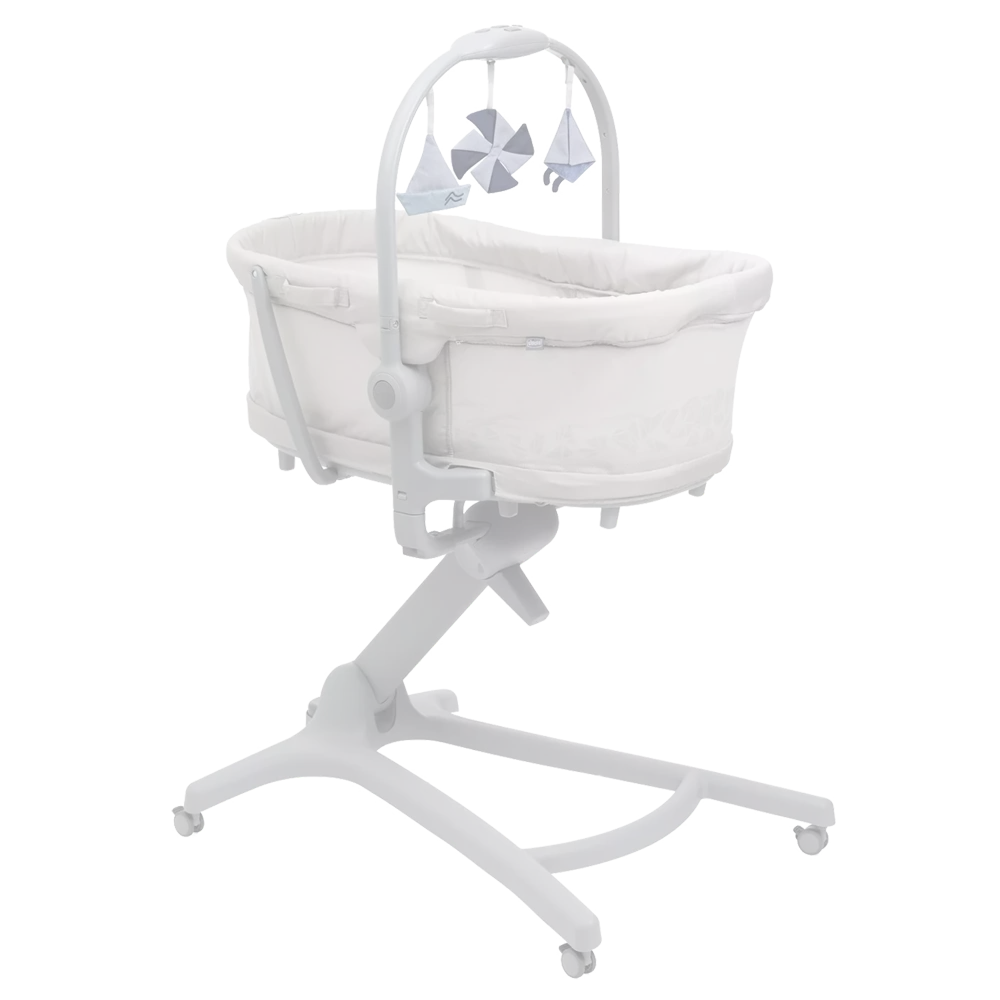
Chicco Baby Hug 4 in 1 Beşik: İlk Üç Yıl için Tek Akıllı Koltuk

Chicco Baby Hug 4 in 1 Beşik, bir çocuğa ilk dönemlerin birkaç aşamasında şaşırtıcı bir kolaylıkla eşlik eden çok yönlü bir bebek odası yardımcısı olarak öne çıkar. Evdeki ilk günlerden yürümeye başlayan çocuk yıllarına kadar; bir beşik, yatırılabilen bir beşik, mama sandalyesi ve masada ilk sandalye olarak kullanılabilir. Bu esneklik, konfordan veya kullanışlılıktan ödün vermeden kompakt çözümler arayan ebeveynler için onu cazip kılar.

Beşik modunda, yenidoğanlar için 9 kg'a kadar rahat bir dinlenme alanı sunarken, yatırılabilen beşik ayarı ailelere ilk aylarda gözetim altında rahatlama için konforlu bir alan sağlar. Daha sonra, bir çocuk bağımsız olarak oturabildiğinde ürün, 36 aya ve 15 kg'a kadar öğünler ve günlük aile anları için uygun mama sandalyesi ve ilk sandalye moduna dönüşür. Sonuç olarak, yalnızca birkaç ay sonra kullanılmadan beklemek yerine değişen rutinlere uyum sağlayan tek bir bebek ürünü elde edilir.

Tasarım ayrıca kullanışlılığa odaklanır. Ayarlanabilir yükseklik sistemi, oturma ünitesinin farklı mobilya düzenlerine uyum sağlamasına yardımcı olur ve sırtlık, amaçlanan kullanıma göre birden fazla pozisyona yatırılabilir. Işıklar, sesler ve yumuşak oyuncaklar içeren çıkarılabilir oyuncak barı, özellikle ilk aşamalarda ilgi çekici bir dokunuş katar. Birçok ebeveyn için Chicco Baby Hug 4 in 1 Beşik Kullanım Kılavuzu bu noktada yardımcı olur; çünkü modlar arasında güvenli şekilde nasıl geçileceğini ve her konfigürasyondan en iyi şekilde nasıl yararlanılacağını açıklar.

Bir diğer güçlü yön ise günlük bakımdır. Çıkarılabilir tekstil parçaları, güvenlik kemerleri ve kolay temizlenen yüzeyler, yoğun evlerde kullanımı daha yönetilebilir hale getirir. Ürün ayrıca sağlamlık ve gözetim konusunda güçlü bir vurgu ile tasarlanmıştır; bakım verenlere tekerlekleri kilitli tutmalarını, kilitleme noktalarını kontrol etmelerini ve her mod için doğru bağlama sistemini kullanmalarını hatırlatır. Bu ayrıntılar önemlidir; çünkü çok işlevli bir ürün hem güvenli hem de pratik hissettirmelidir.

Notlar

  • Uzun ömürlü, yer tasarrufu sağlayan bir çözüm arayan ebeveynler için en uygunudur.
  • Her mod değişikliğinden önce kurulum adımlarını dikkatle takip edin.
  • Düzenli kontrol ve uygun temizlik, performansı ve görünümü korumaya yardımcı olur.
  • Oyuncak barı küçük bebekler için eğlencelidir, ancak çocuk daha hareketli hale geldiğinde çıkarılmalıdır.
M: GO-GEM-FL-25

© Copyright 2026 Manual.ly